More and more Groups are appearing every day on the FishAngler app, covering different topics, species and the joy of fishing. With every new Group created, FishAngler wants to make sure each one is finding success in retaining members and generating engagement.
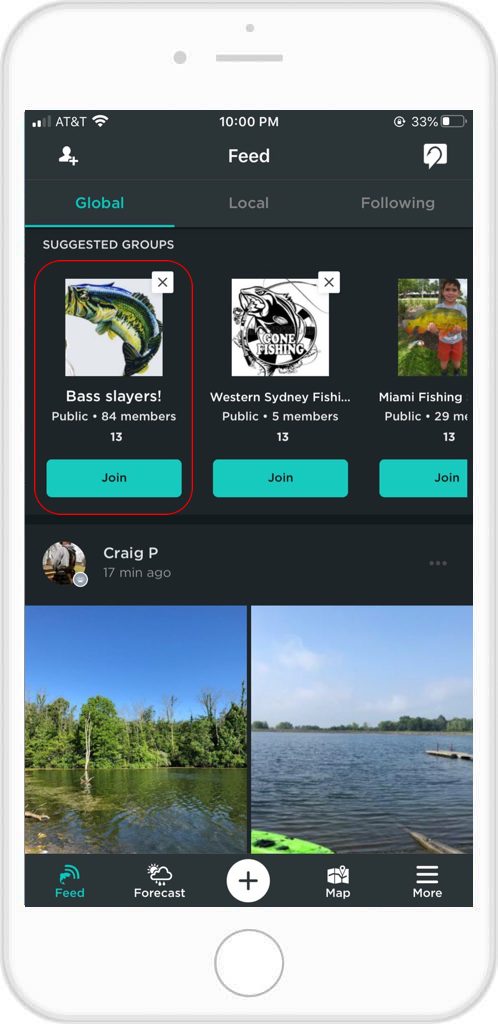
Get your Group FEATURED as a Suggested Group in the Global Feed by following the 5 Best Practices below.
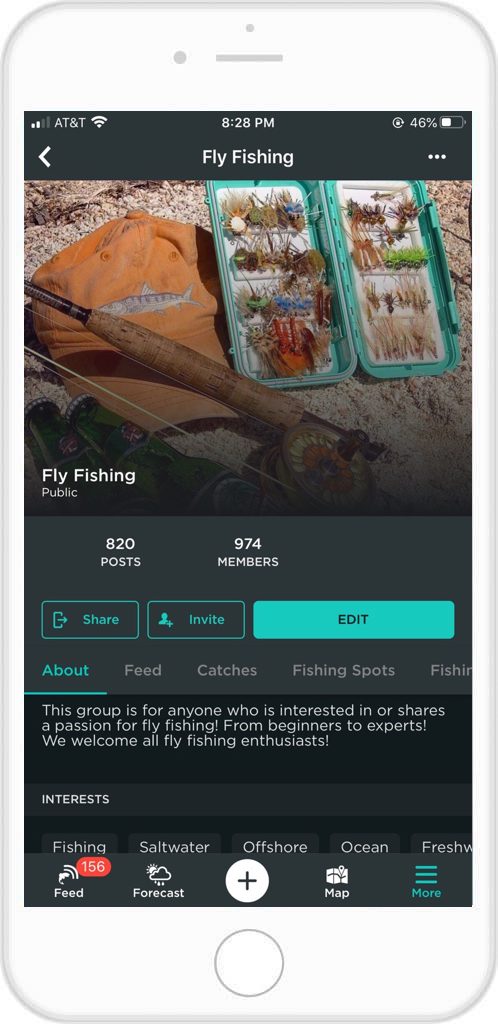
1. Populate Your Group Profile
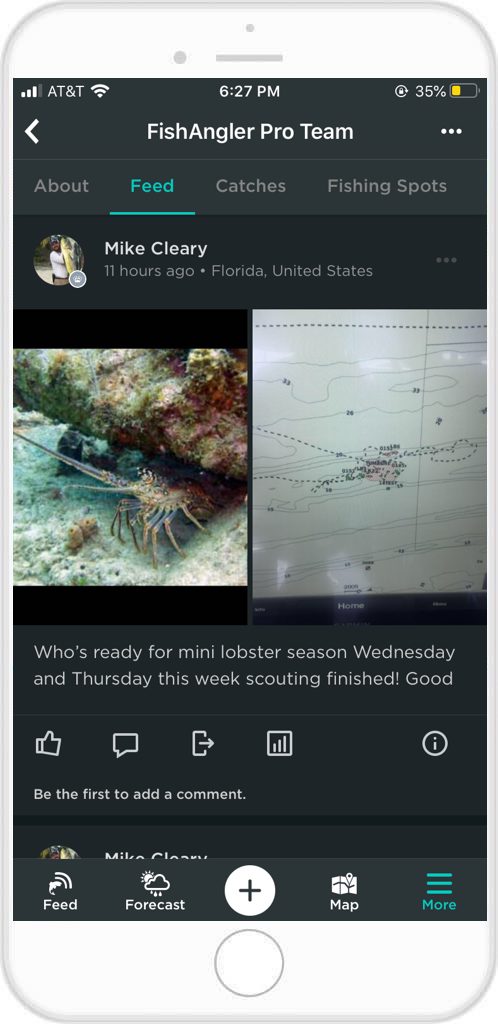
Choosing the right group or club photo or logo will serve as your group’s visual introduction. It is the first step in letting anglers know what your group is about. Your header photo is the visual element at the top of your Group profile page. It grabs people’s attention and shows a little more about what matters to your Group. More than anything, the right header photo helps your Group stand out and engages attention.
 How to add a Group header image:
- Select the “More” icon in the bottom-right hand corner of the app screen
- Select “Groups” under the Discover section
- Toggle to “My Groups” at the top of the screen
- Select your Group
- Tap the “Edit” button on your Group profile page
- Hit “📷 Edit”
- Select an image from your library and crop to the header image specifications
- Select “Done” in the upper-right hand corner of the app screen
Include a descriptive Group name and don’t forget to include a Group description! This is your opportunity to tell your Group’s story. How did your Group start, what is your Group all about, and what are some of your Group interests?
2. Monitor Your Group Feed
It’s one thing to just have a Group on our app. It’s far better to have an active Group feed in a way that adds value for members. Sharing relevant content with your Group is one of the most accessible ways of doing this. You can start by posting content on behalf of the Group as an admin or owner. You can encourage members post as well, but be sure to monitor feed content to ensure members are adhering to Group rules. Your members are counting on you to steer the Group conversation in the proper direction.
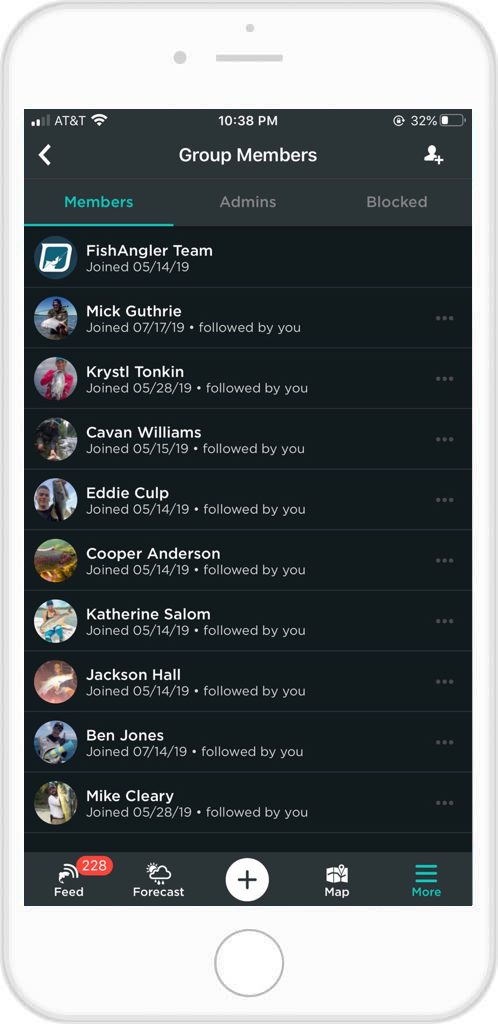
Be sure to use the Group tools like deleting, blocking and even reporting members if they are causing issues. As a Group admin you can tap the member numbers tab on your homepage and look up individual members. The three dots to the right of someone’s name allow different actions like choosing an admin, or removing users.
You can also set Group rules for all to see by tapping the “Edit Profile” button on your Group profile screen, then selecting “Rules”. Here, you can type in your expectations for Group membership and participation.
3. Update Your Group Region
An updated region makes it easy for a Group to find new members within an area, or attract distant members interested in your region. A region can also help inspire conversations between users, while spreading information and regional tactics. Regionally relevant information will also help you reach out to new members, providing them familiarity with your Group.
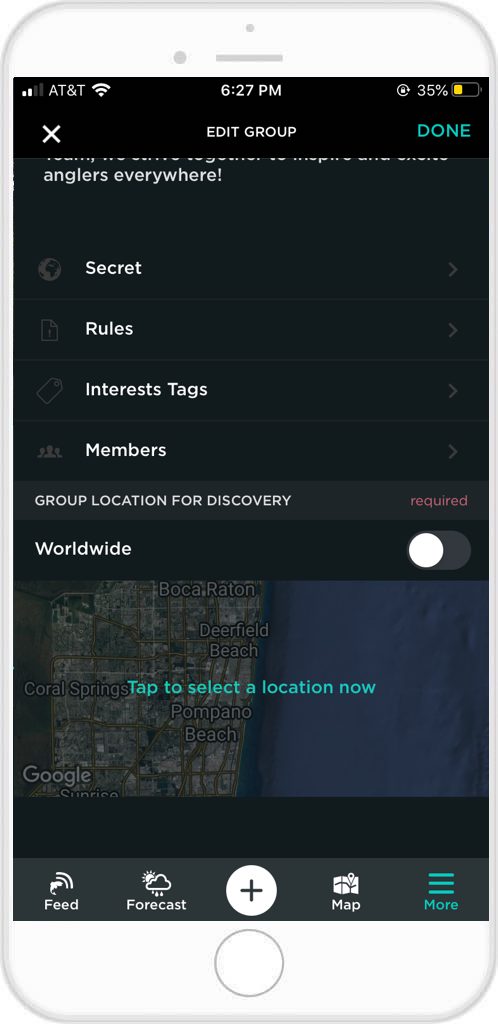
To set your group region, tap “Edit” on your Group profile, and scroll down to “Group Location for Discovery”. Here, you can either set the Group to be discovered by worldwide users, or you can pick your specific region for users to find.
4. Include Your Group Interests
Interests advise members and potential members exactly what your Group is all about! Whether you’re a hardcore tournament Group, or beginner Group specifically looking for a friendly community, you can tag your interests for all to see.
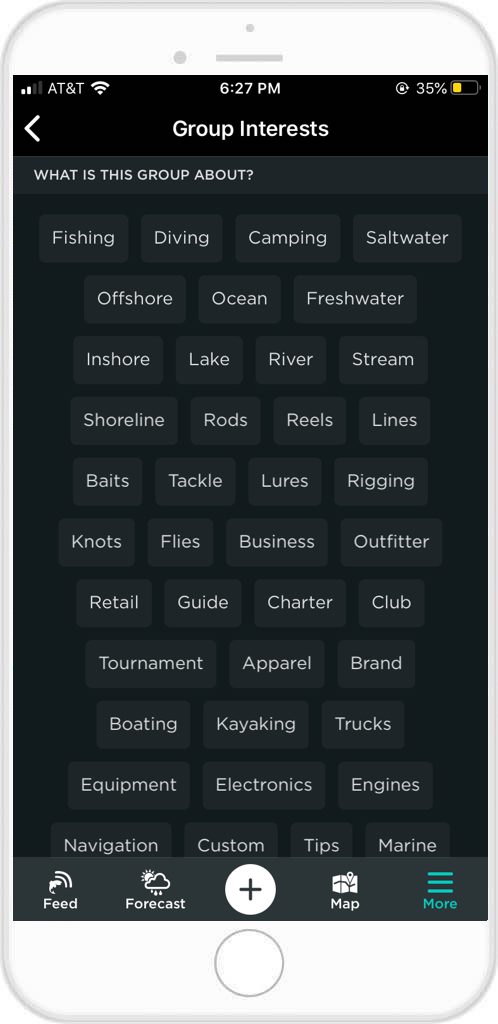
To tag interests, select “Edit” button on the Group profile screen. Scroll down to “Interest Tags”. Here, you can choose 5 interests from over 50 different interests to let members know what your Group is about. Interests will appear on your Group profile screen, where new members can easily identify them.
5. Manage Your Membership
Always keep track of all sent invitations, accepted invitations, current members and more to properly manage your group. Group Tools simplify keeping track of current members and seeing if any users need to be reached out to again. Groups and clubs can also import and export their member lists or rosters. Any Group with a roster can import their roster to help see which members have FishAngler accounts and invite members who do not onto the app. Exporting rosters gives you a physical copy to manage for in person meetings, as well.
Groups are the best way to meet and discuss fishing with new people while building new relationships across the world. Make sure to use these tips to help your FishAngler Group reach new members and for a chance to be featured on the app!
Download the FishAngler app for FREE!